Showing posts with label Creativity Club. Show all posts

Sunday, 14 July 2013

Happy Birthday Mum Booklet Card

Well, it's July 13th and today we celebrate both my daughter's 6th and my Mum's (something!) birthday, so a busy day all round! It seems like only yesterday Mum was urging me to 'Hurry Up!"
as her birthday was nearly over and baby still had to make its entrance - luckily, I was able to
 give her the best birthday present ever, a healthy Granddaughter, the delightfully lovely
(sometimes tricky!) Evie Mae.

Here's the booklet card I made for Mum, designed to contain her gift vouchers. I created it using a mix of  Floral and Paisley papers I designed for the docrafts Creativity Club along with a mix of
Papermania Vintage Notes and Capsule Pastels collections.


The heart is the gorgeous Papermania Vintage Notes Filigree Heart die.
The 3D flowers on the front were made by rolling and scrunching a length
of burgundy paper, then securing the base before attaching to the
card with silicone glue.


I made the letter templates by printing them out from my pc then cutting
the shapes from the Floral rose papers. I love the dimensional look so I have used
loads of 3D sticky pads and layers to create depth.
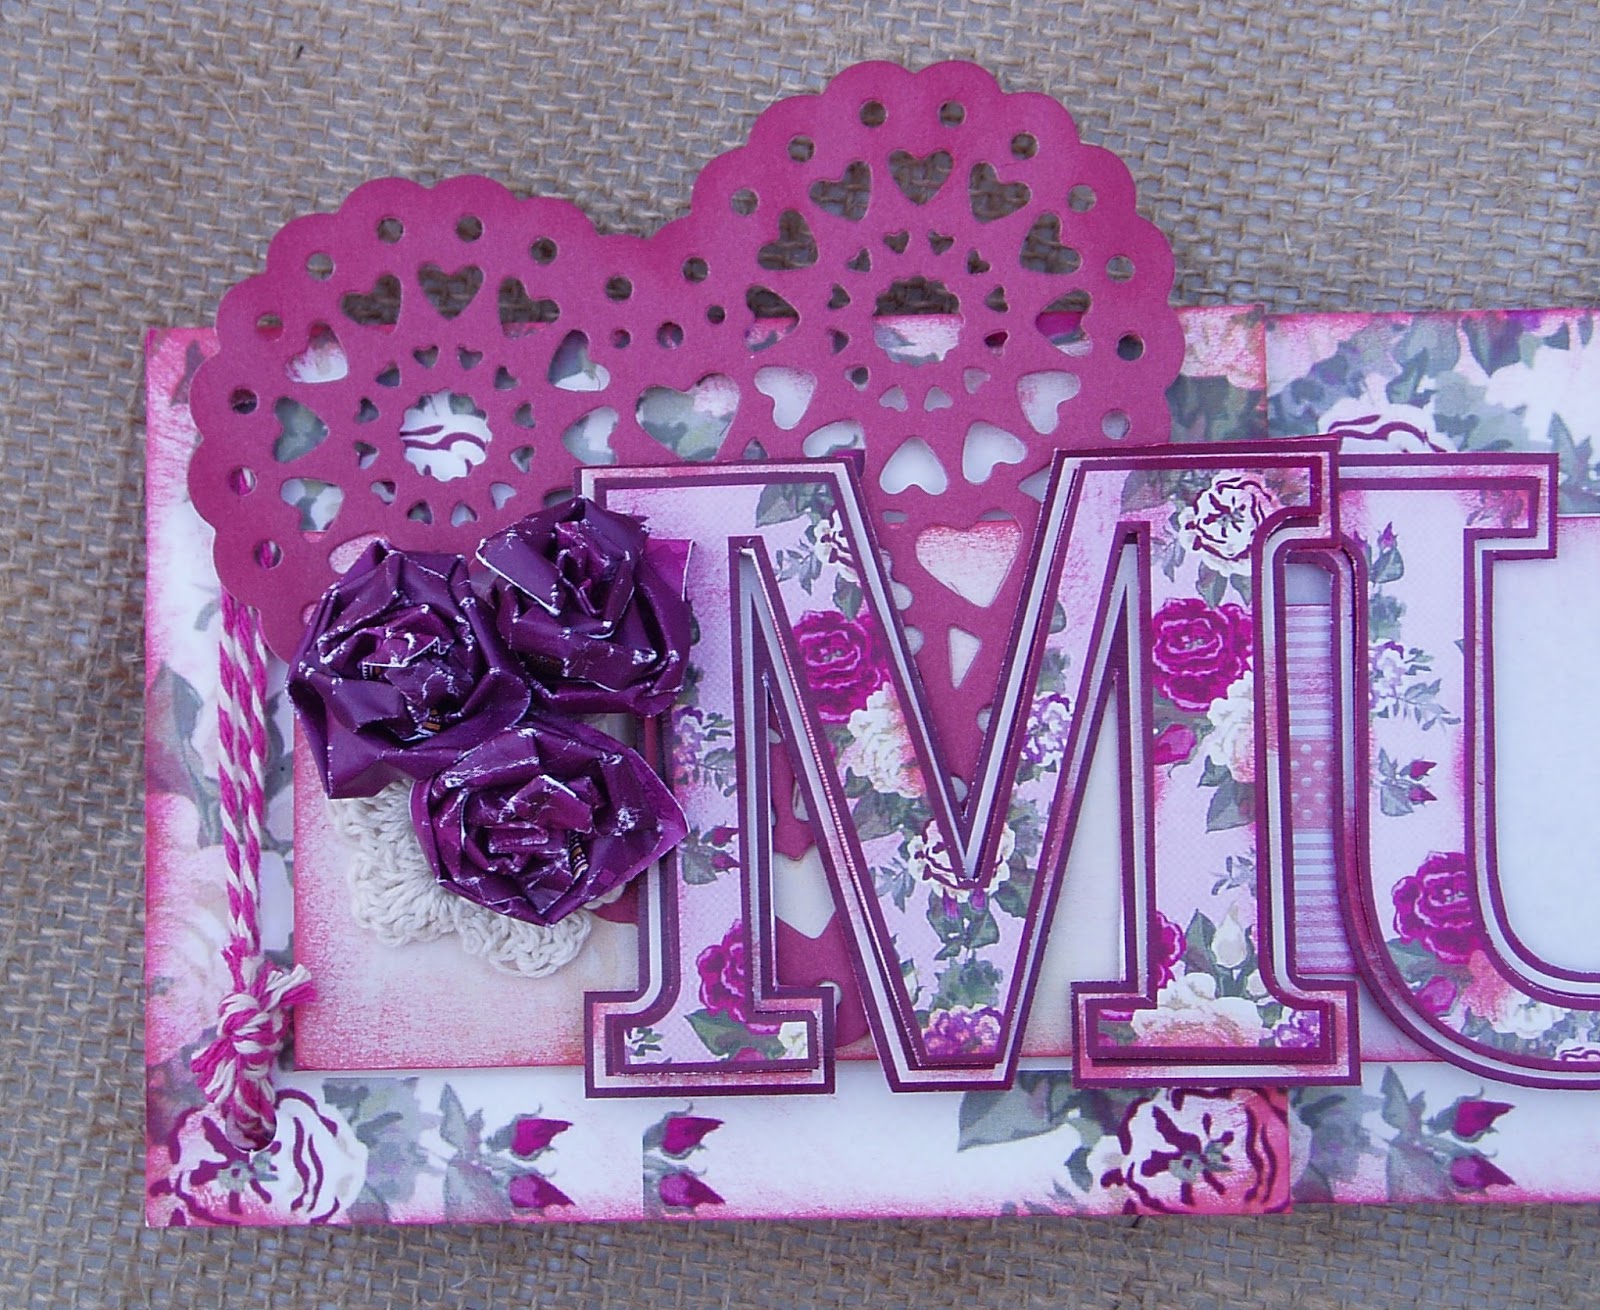

The vintage effect was made by swiping a dark pink
dye pad over all the card edges. 


On the last page of the booklet, I created a mini open envelope
to house  the vouchers.

Thanks for taking the time to look!

Jill x 


Tuesday, 28 May 2013

Best Dad in the World Card & Papers

This week, the docrafts Creativity Club have part 2 of my ‘All Tooled Up Father’s Day' printables collection available to members to download. My Dad is due to go in for a back operation today, so I used a selection of them to create this card to wish him luck…


I used a Papermania recycled A6 Kraft card blank as a base them added a series of layered die-cut shapes (mounted onto card for strength). The top rectangle was created by running the distressed cream paper through my die-cutting machine with a lovely little dotted embossing folder I found in my craft bag!


I created a distressed effect by dragging a Papermania brown die ink across all the edges, then assembled the pieces onto the card using Stick it 3D foam pads for dimension. To finish, I wound some Papermania string around the card, then used a blob of silicone glue to attach the 
sentiment on the top.


I loved creating this collection of papers – it was a refreshing change to design something out if my comfort zone. The initial sketch were done when my kids were zooming around at a soft play – all the other Mums were gossiping or reading their kindles, I was sketching from a box of mixed nuts and bolts! I had a few funny looks! Here are the initial sketches…


I scanned them into my pc and worked them up before converting some of them into 
paper designs in illustrator using this colour palette...


I used last week’s blue collection to make this digital card layout...

  
I would love to hear your comments - it is such a help when designing papers to hear 
other people's opinions. Thank you for looking! 

                     Jill x
Sunday, 12 May 2013

Love, laugh, Live - using docrafts Creativity Club Chevron printables for scrapbooking

I haven't had much time for crafting this week (I have been absorbed every spare second making a 3D sugar paste tractor for my hubby's birthday cake!), but I couldn't resist making a quick digital scrapbook layout (8 x 8") using a combination of last week's and this week's Creativity Club Chevron and background downloads.

I designed these papers as a multi-use collection which could be utilized for masculine cards (Father's Day is coming soon!), as well as feminine designs. Although the colour palette includes pinks, the overall feel of strong linear design is perfect for all whole host of cards and scrapbook layouts.

Chevron & Backgrounds Colour Palette
 
I created the large chevron design with the thought that you could chop sections out to create bold design statements. Here is the digital layout I came up with...it features my two little honeys having a ball jumping off walls at a glorious country park we have nearby!


Photo of my girls was taken by the lovely Louise Jolley
http://www.louisejolleyphotography.com/
 
The layout is pretty simple, just layering up of the elements, and could easily be
adapted to make a birthday or greetings card.

Thank you for looking. Any comments would be much appreciated!
 
Jill x
 
Visit www.docrafts.co.uk to find out
more about the Creativity Club
 

Saturday, 4 May 2013

If you love sweets, you may like this...!

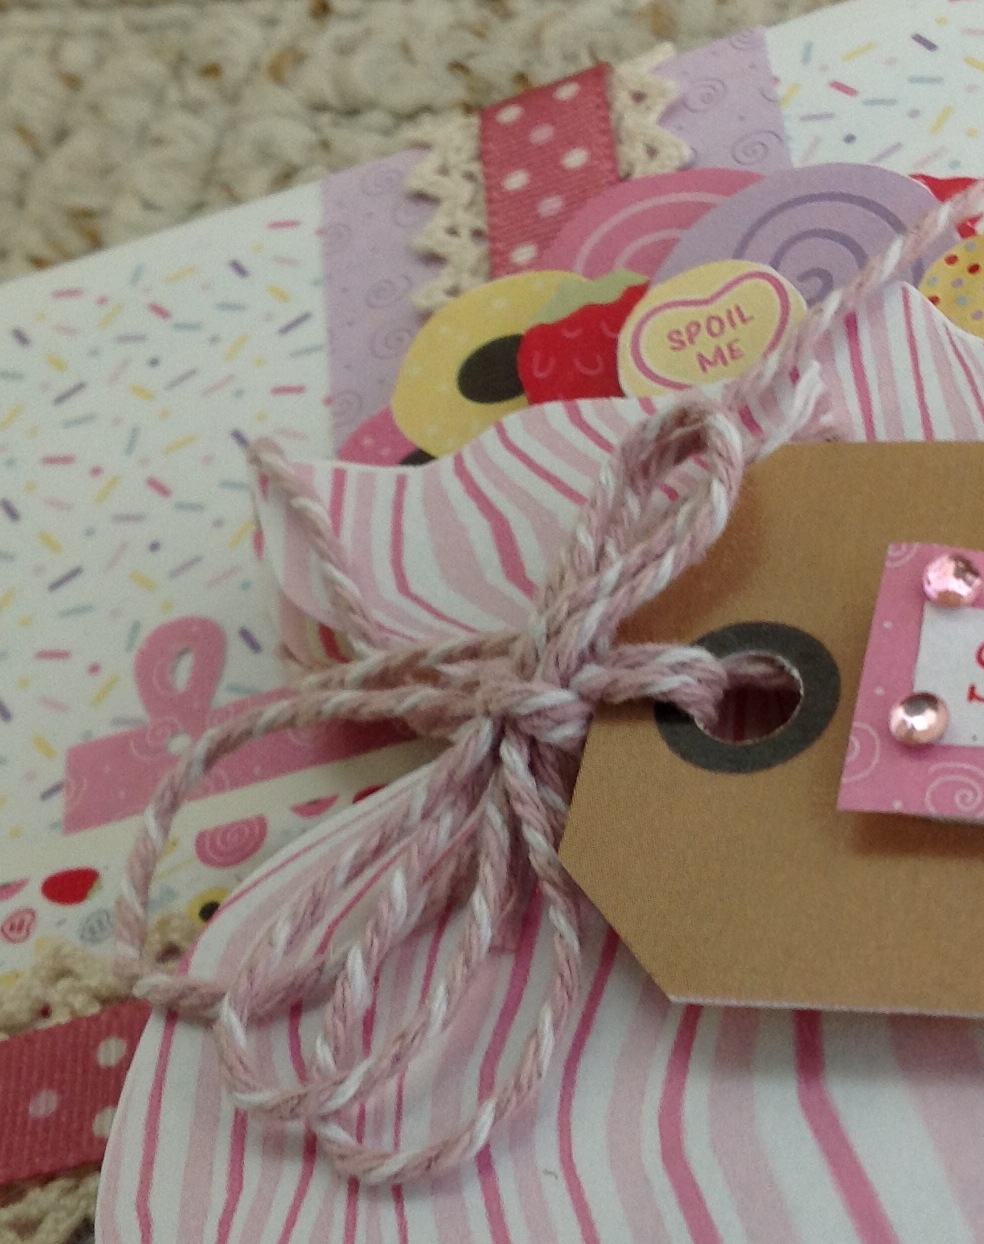
Phew, it's been a while since I had a chance to blog - we have just been on a fabulous family holiday to the gorgeous Center Parcs, and now we are back, have just had the chance to take a few piccies of the card I made in a few hours I snatched just before we went away! It's made using last week's docrafts Creativity Club printables 'Candy Love' which I designed after an inspiring trip to the sweet shop (what an excuse to sample the goods before sketching!).


To create the depth, I used silicone glue and slighty twisted the top layer of the decoupage bag to create a more 3D impression...
 
 
I added somePapermania ribbon and Vintage Notes Lace Borders to the mix for effect...


...and to finish, some craft twine to tie the bag.
Thanks for looking!
 
Jill x


Sunday, 7 April 2013

Over the Hill Bottle Gift Card

I have had this idea rattling around in my head for a while. Whenever I give anyone a bottle of wine, it always feels a little impersonal, so, how about creating a card which wraps around the bottle so it acts as both greeting and gift wrap?! Here is a version I have made using this week's Creativity Club 'Over the Hill' printables...


I created a sleeve from white card to fit around the bottle, then added the mini blue dotty paper leaving a white edge. The field paper was stuck on top centrally, cutting around the top cloud to add some shape to the top. I then stuck a selection of the birds, sentiments, trees and fences onto more white card, cut them out and attached them to the sleeve using 3D adhesive dots.
 
On the back, I added a decorative rectangle, covering the sleeve join,
as a place to write your message.


 I also created a little sleeve to fit onto the bottle neck using the same techniques.
I wrapped the paper ribbon around a pencil to achieve the curled effect.


I hope this has given you a little inspiration. I would love to see what you think so please post a comment if you have time!

Jill x

Saturday, 6 April 2013

Spring Blossom Birthday Card

Here's a layered card I designed for my lovely Grandma' s birthday using the docrafts Creativity Club 'Spring Blossom' printables. I stuck the decoupage flowers and vase onto some card, cut them out, then assembled them to create this card - it was really easy and fun to make!


You might also like