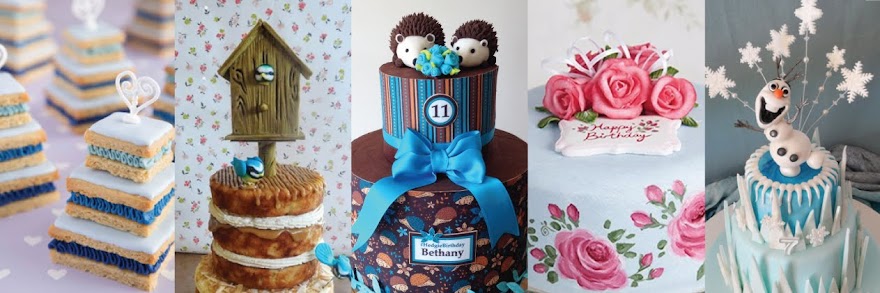
My house is ringing with the repeated "Let it Snow" song from the Frozen movie - my youngest daughter simply loves it, so I guess it was no surprise her brief for this year's birthday cake was for an Olaf theme! For me, this was a challenge as I have never seen the film, so, after a little online research and a lots of invested time I came up with this...

I used Little Venice Cake Company 6" and 4" round tins to make the two sponges first, filled and covered them with sugarpaste then stacked them onto a deep covered board.
In the evenings in the lead up to this, I made a series of assorted light blue and white triangles from modelling paste and left them to dry out.
I also cut some large and small snowflakes, some of which I inserted white florist wire into to make the topper. I then used non-toxic PVA glue to secure some assorted Cousin crystal and pearl beads onto the wires and left them to dry.

Olaf was more challenging! Using modelling paste, I firstly made two balls, one for the body and one for the upper body and secured them together with a cocktail stick and sugar glue. The head was formed from a cone shape, the mouth modelled with Little Venice Cake Company Modelling Tools and in-filled with black modelling paste.
I made two indents for the eyes using the small end of the bone tool and stuck a small ball of black paste into each which I then pressed down with the bone tool. Add a ball of white onto each eye and finish with a small flattened ball of black.

I stuck the arms and detail on once the body and head had dried out (3 days).
Assembly was the best bit! The triangles are fab as they cover up any imperfections in the icing! The dark, watery effect top which Olaf is standing on was made by partially rolling together two tones of blue sugarpaste then rolling it out - it creates a lovely marble/watery effect. Always use a florist flower pick to stick your wired topped into to prevent the wire from touching the cake.
I can't wait for her to see it now! Thank you for looking!
Jill x


